My new axe came in the mail today! The Gransfors Bruks Swedish Carving Axe. I took it out to play and put together a quick, sloppy mortise and tenon. I love it!
Saturday, September 25, 2010
Thursday, September 23, 2010
Auger Bit Storage Roll
I decided to forgo putting a divider in the drawer of my toolbox for my auger bits in favor of creating this leather roll to store them. I used some of my 2-3 oz (?) leather that I ordered last year by accident. It varies in thickness, but on average is like a heavy canvas. It's difficult to stitch by hand, so I thought I would stop at the point you see in the photo before my finger tips started bleeding.
I still have nearly all of the dividers to stitch, and then I have to repeat the whole thing over on the opposite long edge. This will allow me to store my bits alternately, which is best for preserving their cutting edges. This project really makes me wish I had a leather sewing machine. I might use my sewing awl on the next side. This project doesn't really require lockstitch, but it wouldn't hurt.
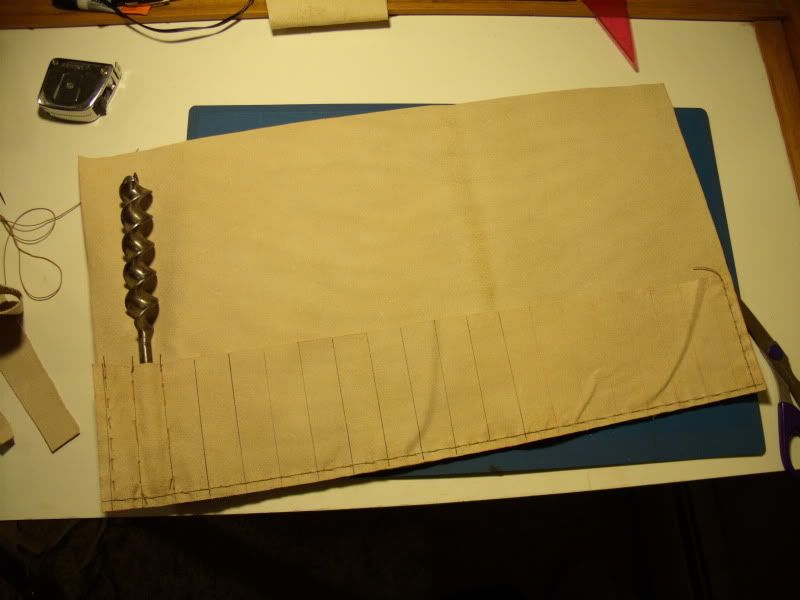


I still have nearly all of the dividers to stitch, and then I have to repeat the whole thing over on the opposite long edge. This will allow me to store my bits alternately, which is best for preserving their cutting edges. This project really makes me wish I had a leather sewing machine. I might use my sewing awl on the next side. This project doesn't really require lockstitch, but it wouldn't hurt.


Wednesday, September 22, 2010
Links
Some good links related to woodworking:
Kesurokai
Robin Wood
Lee Valley & Veritas Tools
Joiner's Notes
Norse Woodsmith
ToolMaking Art
Kesurokai
Robin Wood
Lee Valley & Veritas Tools
Joiner's Notes
Norse Woodsmith
ToolMaking Art
Toolbox
I've been carrying my tools either in a small duffel or in my bike pannier buckets made from cat litter buckets. Not very organized or convenient. I collected some scraps from the site I've been working on, some 1x8 ship lap pine, and some old 1x12 pine. I also have some scrap plywood in a couple of different thicknesses. I drew up a plan for a toolbox after thinking on it for a few days, and my finished product ended up being fairly similar to what I was conceptualizing.
The bottom is a single 1x12, the ends are plywood, and the sides are the 1x8 pine with compartments attached. The false bottom is plywood, and removable. The drawer is plywood. When it arrives in the mail, I'll be using magnets to more firmly fix the drawer shut, and applying some low-friction tape for all the contact surfaces.
No power tools again. I can't find the charger for my cordless drill, and I didn't feel like getting out the circular saw. All of the cuts are actually much straighter than I can cut with a circular saw, and I'm pretty good with one. The box was built with a large number of the tools that you can see in it.
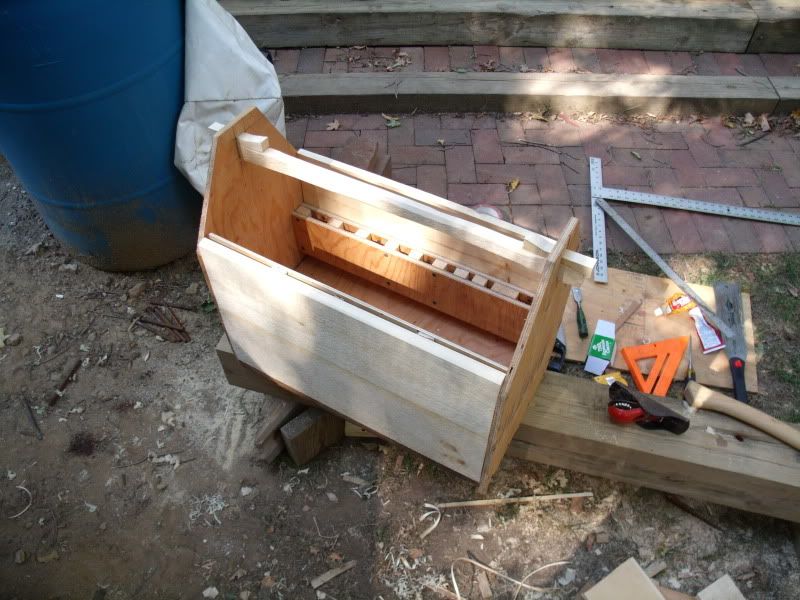
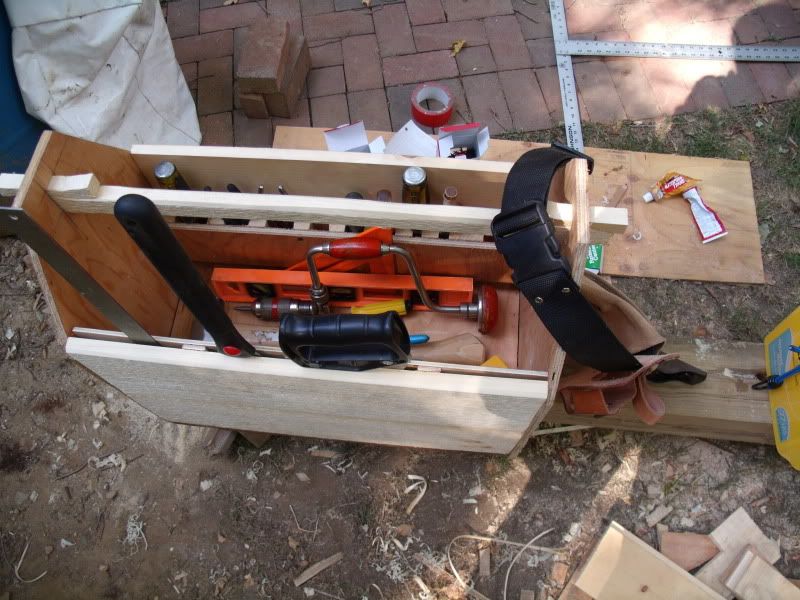
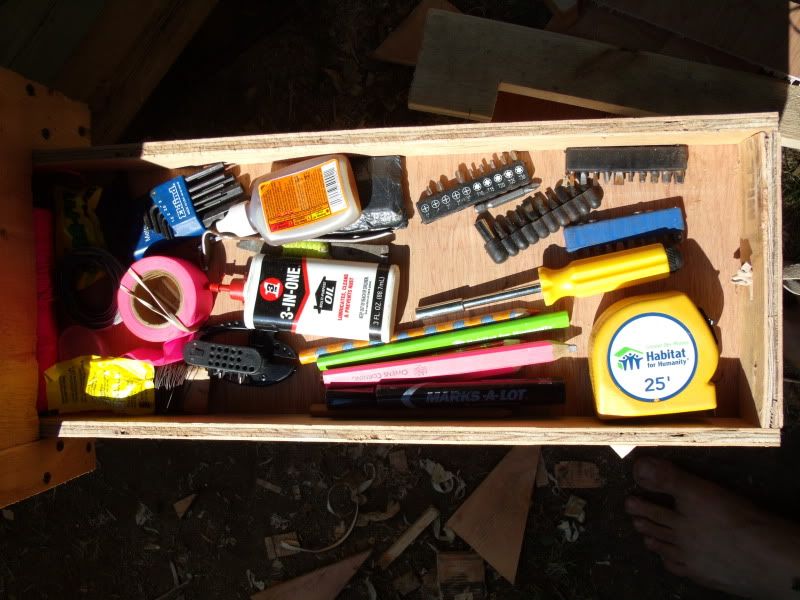
Ready to go to work!
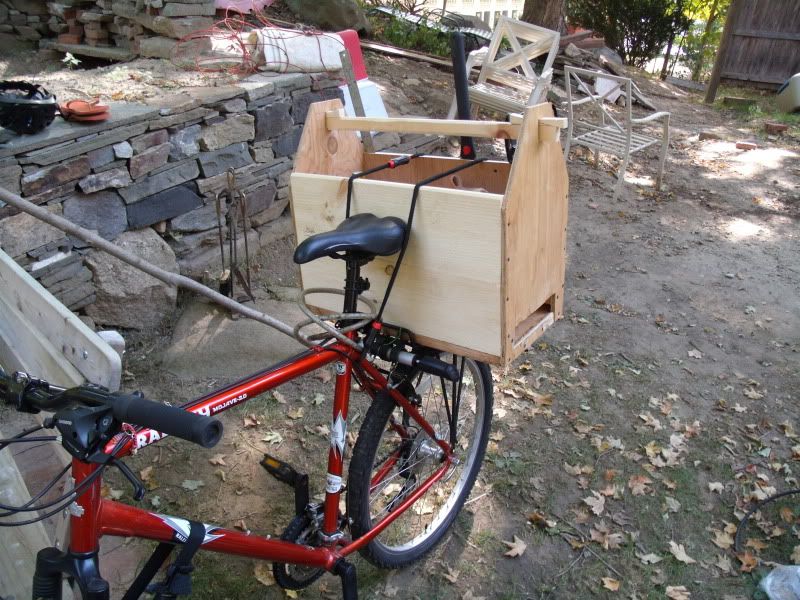
Not a light toolbox, especially when loaded.
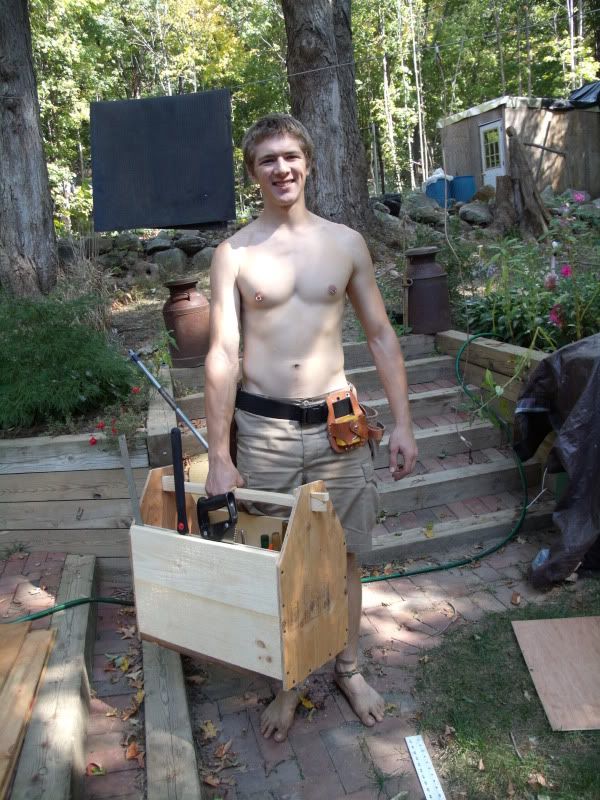
The bottom is a single 1x12, the ends are plywood, and the sides are the 1x8 pine with compartments attached. The false bottom is plywood, and removable. The drawer is plywood. When it arrives in the mail, I'll be using magnets to more firmly fix the drawer shut, and applying some low-friction tape for all the contact surfaces.
No power tools again. I can't find the charger for my cordless drill, and I didn't feel like getting out the circular saw. All of the cuts are actually much straighter than I can cut with a circular saw, and I'm pretty good with one. The box was built with a large number of the tools that you can see in it.


Ready to go to work!

Not a light toolbox, especially when loaded.

Waterstone Box
Inspired by the large sharpening trough at the 2010 Kesurokai gathering, I decided to build my own version for my two pocket water stones from LeeValley. I wanted a container to leave my stones in to soak, and also a way to hold the stones so that I could use two hands on the tool that I was sharpening.
I think I did an alright job on it, but I should have sized the box to hold my flattening stone for storage...
Made from 1x8 ship lap soft pine scraps, finish nails, silicon goo for the joints, and Gorilla Glue for structural gluing.
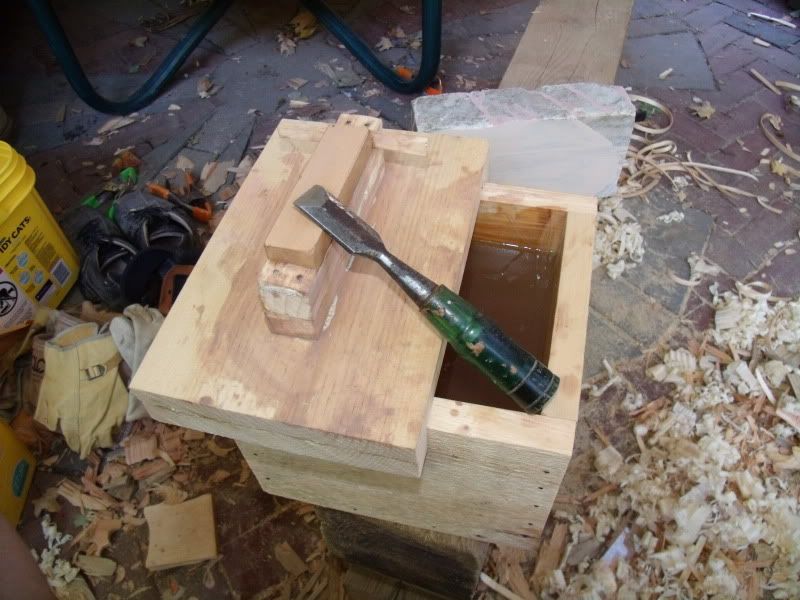
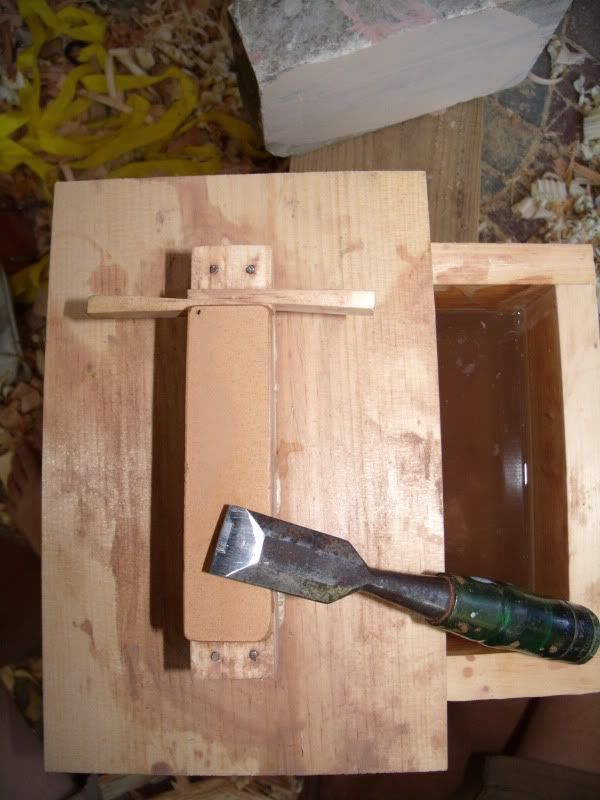
Testing it out while on the phone:
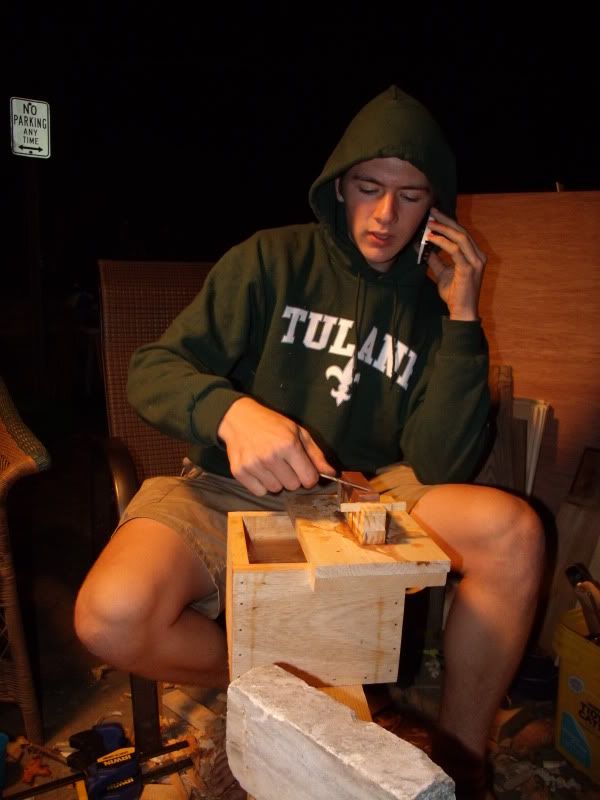
I think I did an alright job on it, but I should have sized the box to hold my flattening stone for storage...
Made from 1x8 ship lap soft pine scraps, finish nails, silicon goo for the joints, and Gorilla Glue for structural gluing.


Testing it out while on the phone:

Sawhorse Project
The other day I started working on a sawhorse/work surface project. I'm using 6x6 pressure treated pine left over from redoing the backyard last fall.
One of the uprights:

The two feet:

I finished up the other upright, but when I was putting them together, I split one of the feet. I'm going to leave it as-is for now. It will work fine for what I'll be using it for.
I've made this with no power tools so far, which makes it take forever. Several hours to this point.
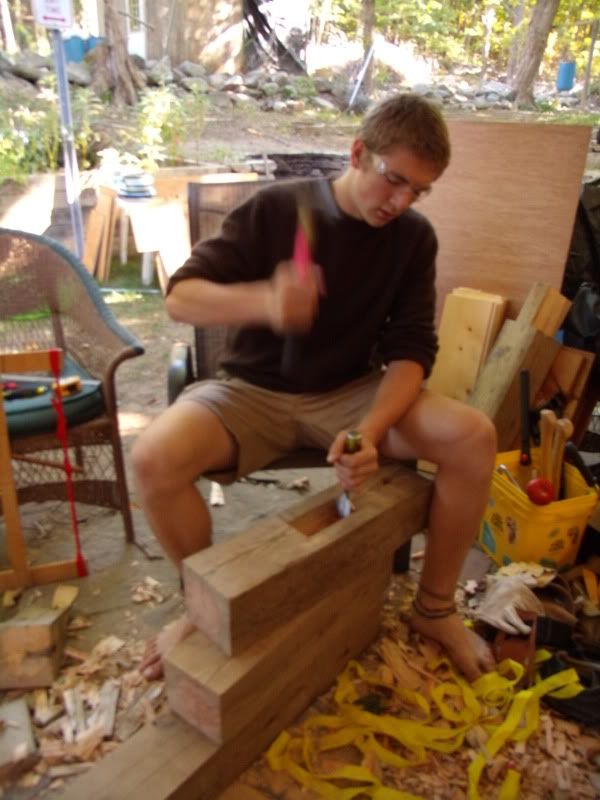
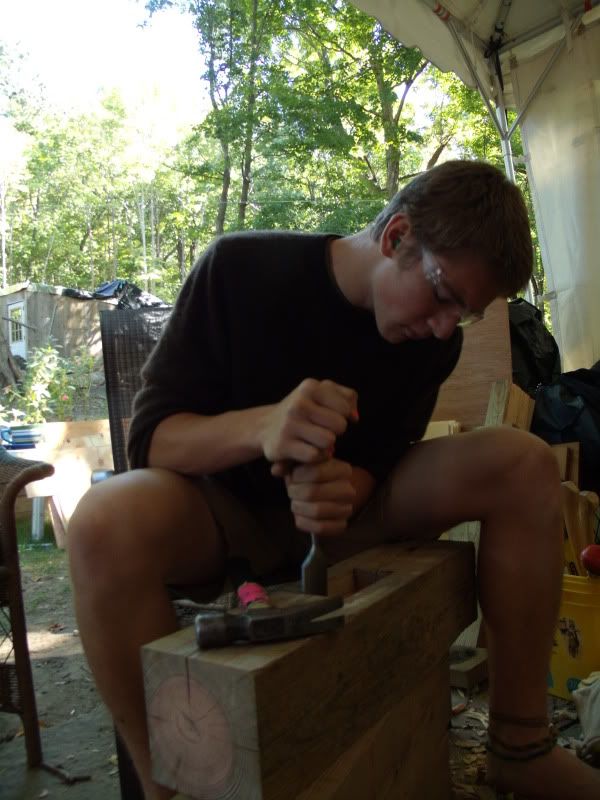
One of the uprights:

The two feet:

I finished up the other upright, but when I was putting them together, I split one of the feet. I'm going to leave it as-is for now. It will work fine for what I'll be using it for.
I've made this with no power tools so far, which makes it take forever. Several hours to this point.


Subscribe to:
Comments (Atom)